


best vewed in: 1024X768
best vewed in: 1024X768
|
|||
|
|
Nigel Blain Sprite Restoration diary
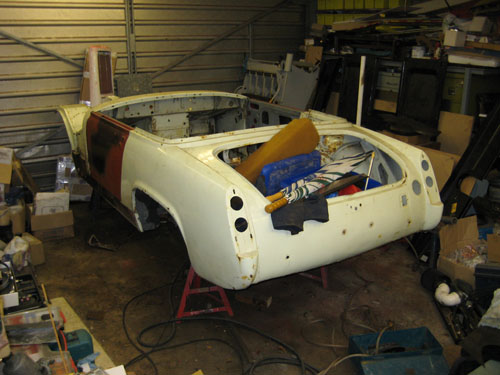
In January of 2008 I finally started my sprite restoration project.
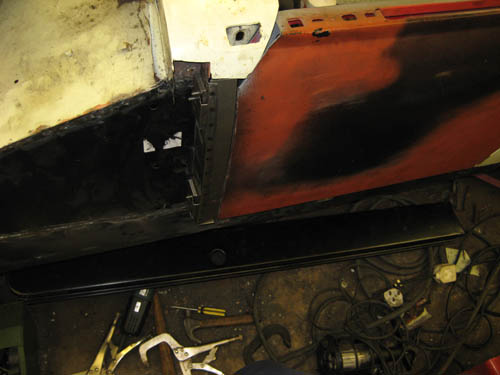
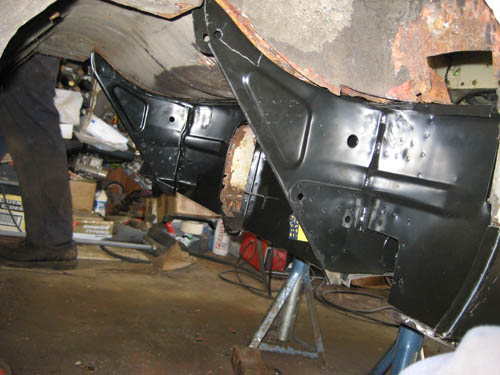
Our first job was to get the shell onto axel stands and levelled. A bit of work with the spirit level and we were level. I also added a set of doors that I picked up at one of the shows that had been re-skinned.
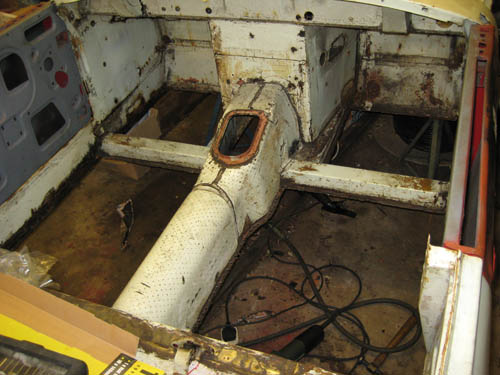
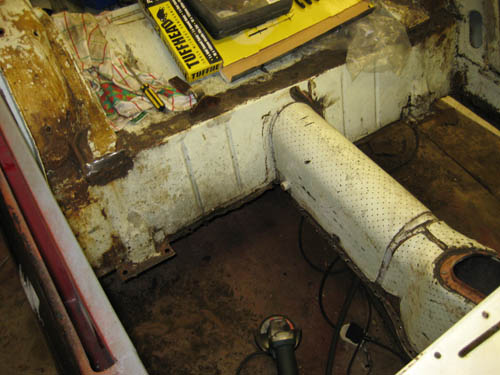
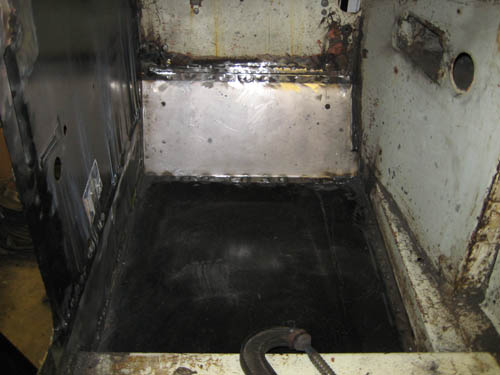
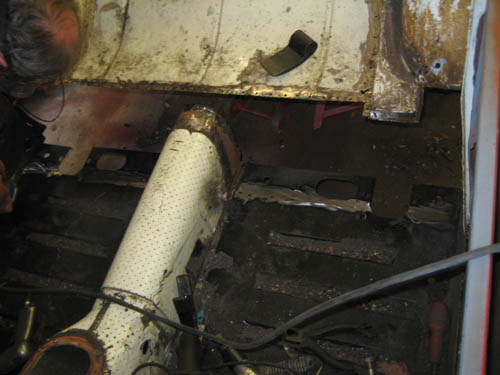
Our next job was to put a new floor in I had acquired a full single floor pan to replace the old floor so it would go in as one hole floor pan. After cleaning the nice shiny paint off the arias we needed to weld to on the new pan we raised it into place under the car with jacks ready to be welded to the tunnel cross chassis sections of the car
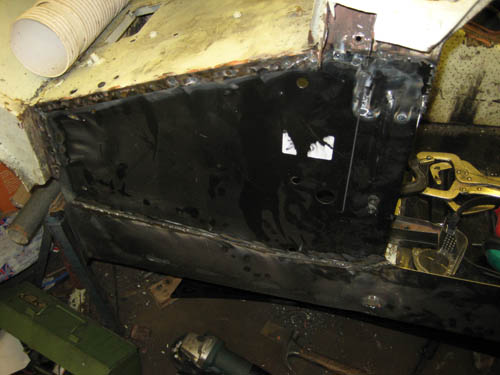
Following on from that I removed the front bulkhead and foot kick space and made new bulk head panels and put in new kick space panels also following that were the inner sills we did all this on the passenger side first.
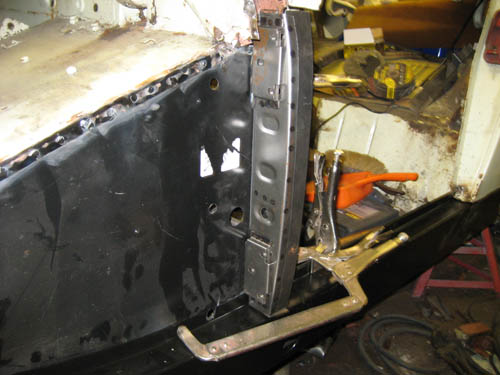
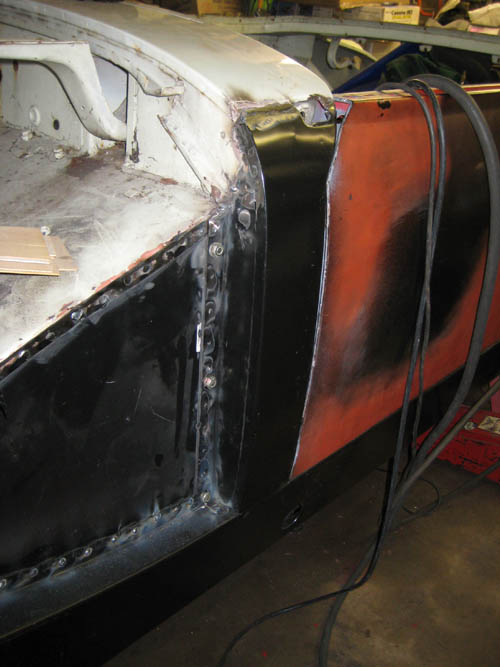
Next step A-post the original ones were in particle bad shape. I was able to buy the complete inside parts for these they were very nice. We measured them all up with the outer sills in place so we knew that everything would line up before we did any welding at this stage.
We then proceeded to do the same work for the driver’s side
Following this the A-posts were finished off with their outer skins and the outer lower sills were attached
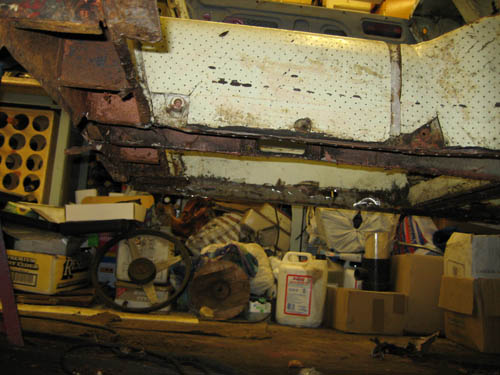
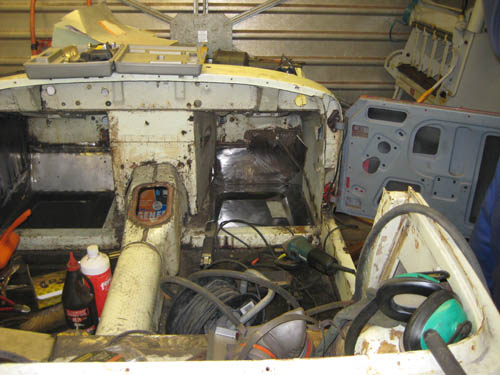
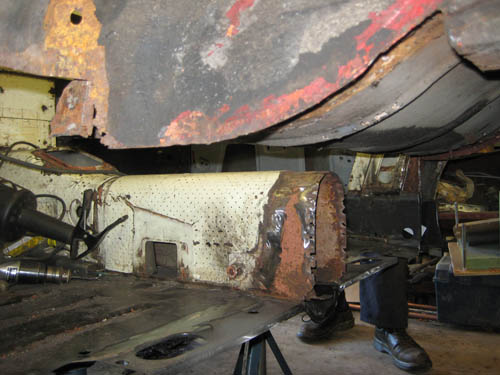
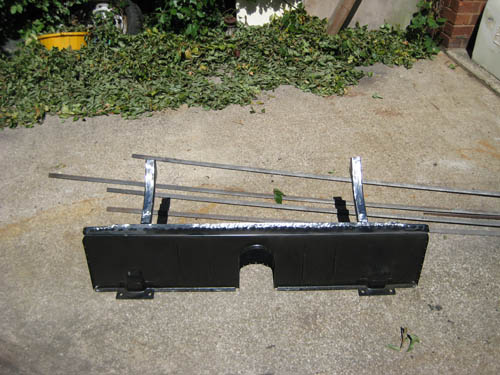
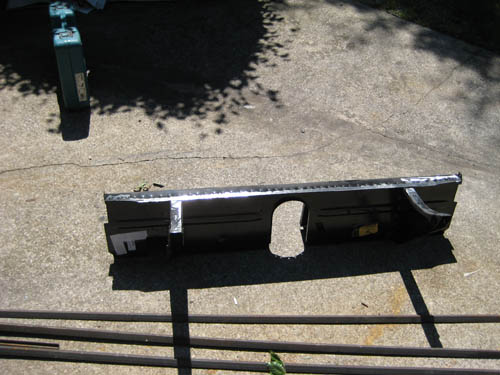
This brings us to about June 2008 where the next major works to do is the back bulk head, this we were going to need to cut out and replace in the same weekend. But June is a busy time for us as we have to get my brothers and dads car ready for the annual pilgrimage to leman for the 24hour race.
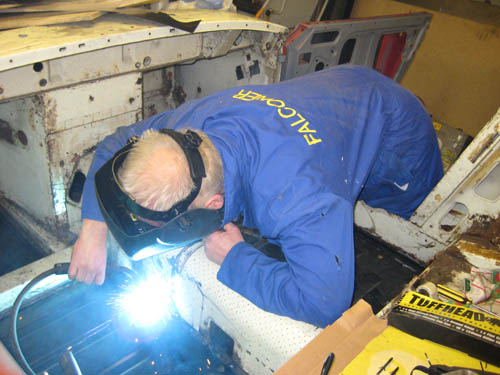
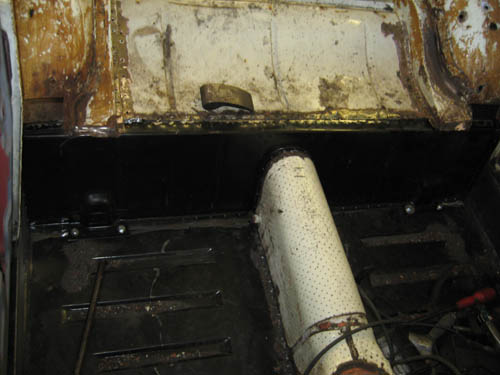
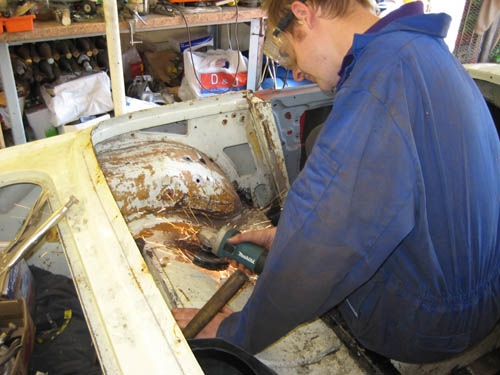
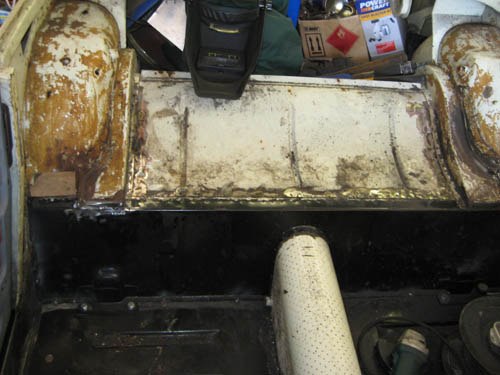
12-13th July 2008 On the Saturday 12th we removed the old bulkhead. We drilled out the old visible spot welds, cut out the large centre sections then chiselled or grinded away the mettle left attached to the flanges. with a flap wheel on the grinder I cleaned off all the places that we were going to be welding.
On Sunday the 13th we finished the prepping of the flanges made sure they were ready to take the new parts.
19-20th July 2008
|
||